Simple, beginner-friendly instructions so you can set up your tent correctly the first time—without frustration.
One of the most important things to do first is to choose the right tent.
Why Learning to Set Up a Tent Matters
For first-time campers, tent setup is one of the biggest unknowns. Poles, stakes, rainflies—it can feel confusing if you’ve never done it before.
The good news: most modern tents are designed to be set up in 10–20 minutes, even for beginners. With a simple process, it becomes straightforward quickly.
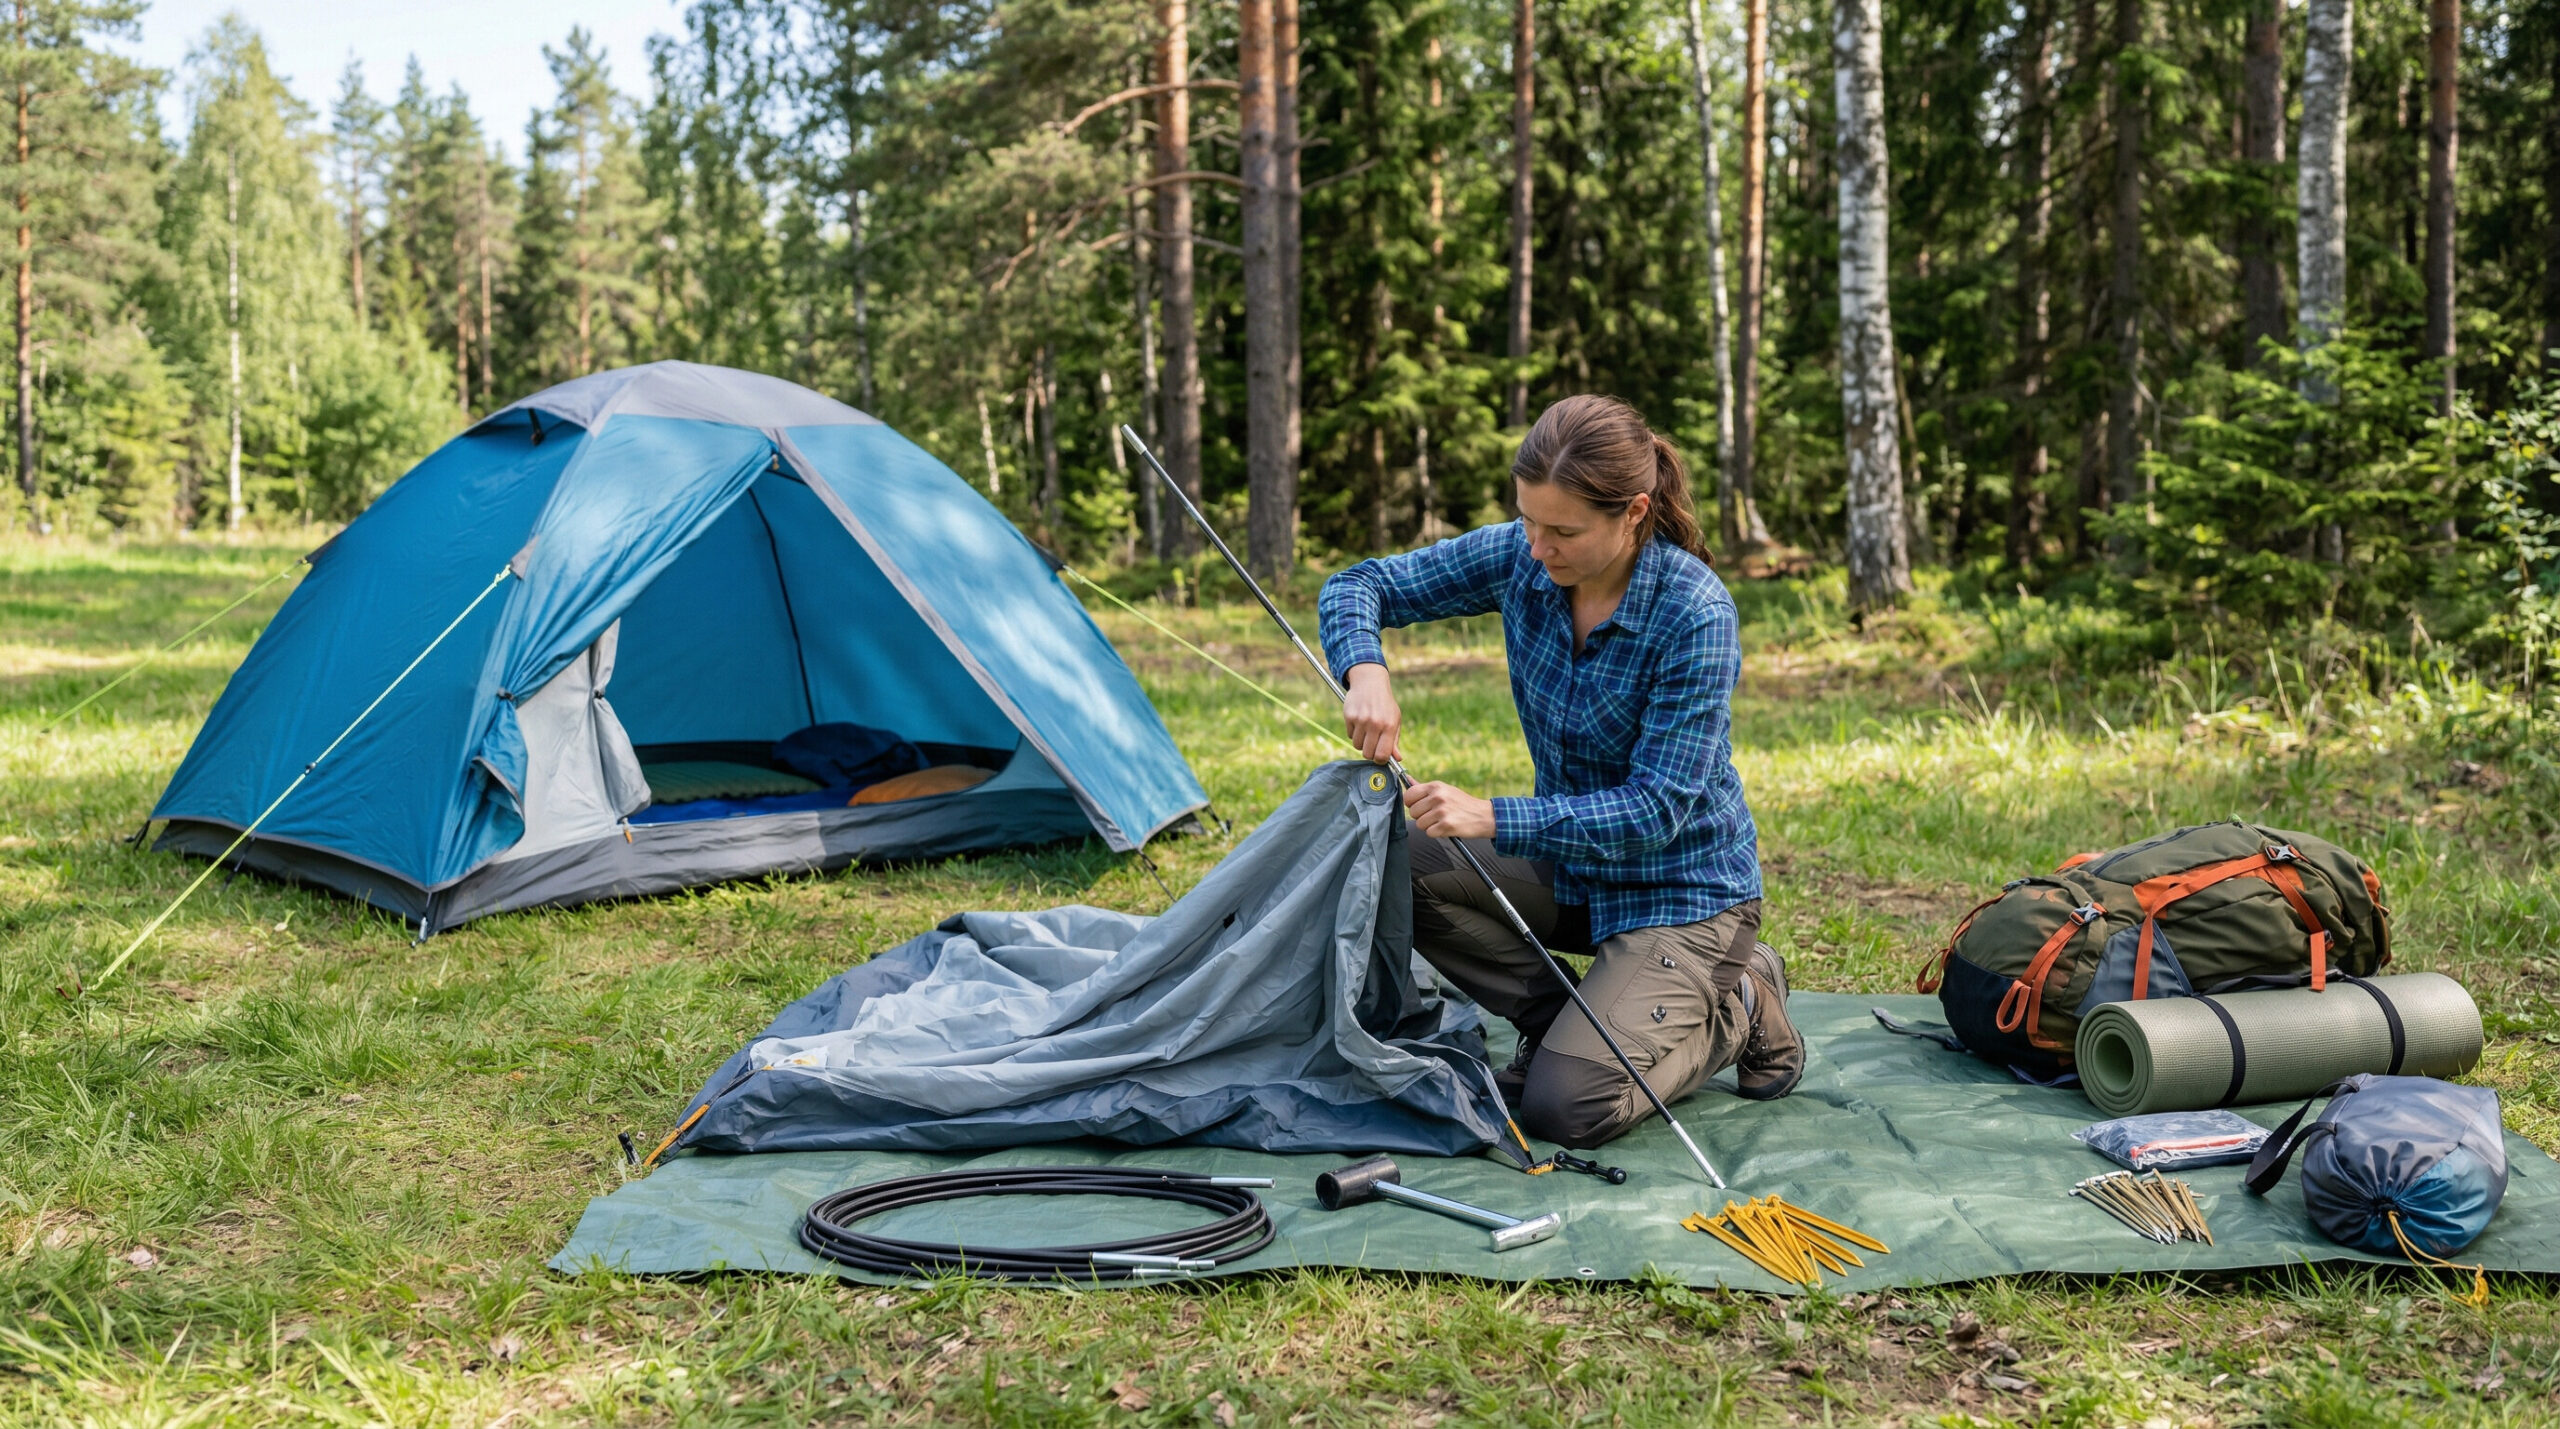
What You Need Before You Start
Having the right basic gear makes setup much easier—especially if this is your first time.
- A beginner-friendly camping tent
- A tent footprint or ground tarp
- Tent stakes (usually included)
- A rubber mallet for tent stakes
- Guy lines (often attached to the tent or rainfly)
If you’re missing any of these, check out my guide to the best camping gear for beginners before heading out.
Step 1: Choose the Right Spot
Where you set up your tent matters just as much as how.
Look for:
- Flat, level ground
- Dry terrain (avoid low spots where water collects)
- Natural wind protection (trees, rocks)
- Clear of sticks and sharp rocks
Avoid:
- Low areas that could flood
- Setting up under dead branches
Step 2: Lay Down a Ground Tarp (Footprint)
Place your tarp or footprint before anything else.
If your tent didn’t include one, using a tent footprint is one of the simplest ways to prevent moisture and damage over time.
Make sure:
- It sits flat
- It does not extend beyond the edges of your tent (this can trap rainwater underneath)
Step 3: Lay Out the Tent Body
Unpack your tent and spread it out over the tarp.
- Position the door where you want it
- Align corners evenly
- Smooth out wrinkles
Step 4: Assemble and Insert the Poles
Most modern tents use shock-corded poles that snap together.
Steps:
- Assemble all poles completely
- Insert them through sleeves or attach via clips
- Form the structure (usually an X-shape)
If something feels forced, stop and check alignment—don’t bend poles.
Step 5: Raise the Tent
Once poles are in place:
- Flex the poles into position
- Clip or secure the tent body
- The structure should now stand upright
It may look slightly loose at this stage—that’s normal.
Step 6: Stake Down the Tent
Now secure your tent to the ground.
- Start with the four corners
- Pull each corner slightly taut
- Drive stakes into the ground at a 45° angle away from the tent
If the ground is hard or rocky, using durable tent stakes and a stake hammer or mallet makes this step much easier.
Step 7: Attach the Rainfly
The rainfly is your waterproof outer layer.
- Place it over the tent
- Align doors and vents
- Clip or tie it down
- Stake out vestibules if included
Even in good weather, a rainfly helps with:
- Wind protection
- Insulation
- Morning dew
Step 8: Secure Guy Lines (If Needed)
Guy lines add stability in wind.
- Attach to designated holes
- Stake them outward from the tent
- Keep tension firm, not overly tight
Optional: reflective guy lines make them easier to see at night.
Final Check
Before you finish, make sure:
- Tent is taut (not sagging)
- Stakes are secure
- Rainfly is properly attached
- Zippers work smoothly
Common Beginner Mistakes to Avoid
Skipping a practice run
Set up your tent at home at least once.
Poor campsite selection
Even a perfect setup won’t fix bad ground.
Improper staking
Loose tents are noisy and unstable.
Tarp sticking out
This can funnel water underneath your tent.
Pro Tips for First-Time Campers
- Practice setup before your trip
- Set up before dark whenever possible
- Bring a flashlight or headlamp
- Pack a few extra stakes
Recommended Beginner Tent Setup (Simple & Reliable)
If you’re starting from scratch, here’s a simple setup that covers everything you need:
- A beginner-friendly camping tent
- A matching footprint or tarp
- A set of durable tent stakes
- A rubber mallet for easy setup
This type of setup keeps things simple, affordable, and reliable for most first-time campers.
Helpful Next Steps
- Best Camping Gear for Beginners (Budget-Friendly Setup)
- Best Budget Tents
- Best Tents for Rain
- Beginner Camping Gear I Recommend
- Hiking for Beginners: What You Actually Need
- Fishing for Beginners: Simple Starter Guide
Final Thoughts
Setting up a tent might seem complicated at first, but once you’ve done it once or twice, it becomes second nature.
Focus on:
- Choosing the right spot
- Following each step in order
- Taking your time
Do that, and you’ll have a comfortable, reliable setup every time.
About the Author
Randy Hartman is the founder of OutdoorDaze, where he shares beginner-friendly, experience-based guides on camping, hiking, and outdoor gear. His goal is to make the outdoors more accessible—without overcomplicating the process.